Help Center
Renting a Subnet
Configuring Your Subnet: Adding an ASN and Setting Up ROA
This step is mandatory. Your subnet will not function without an assigned ASN. Estimated Time: 10-15 minutes + up to 48 hours for ROA creation
5
min.
Reading time
Intermediate
Complexity level
Table of Contents
item
Before your leased subnet can carry traffic, you must assign it an Autonomous System Number (ASN) and have the subnet owner create a Route Origin Authorization (ROA). This guide walks through both.
Before you start: Make sure you're on the Subnet Management Page for the subnet you want to configure. If you're not sure how to get there, see Navigating Your Leased Subnet.
What Is a ROA and Why Is It Required?
ROA (Route Origin Authorization) is a cryptographic certificate that proves a specific ASN is authorized to announce your subnet. It's a critical security measure that prevents unauthorized parties from hijacking your IP addresses.
Why is it required?
Security: Prevents BGP hijacking attacks
Validation: Routers can verify legitimate route announcements
Trust: Major networks and ISPs check ROA before accepting routes
Standard Practice: Industry-standard security measure
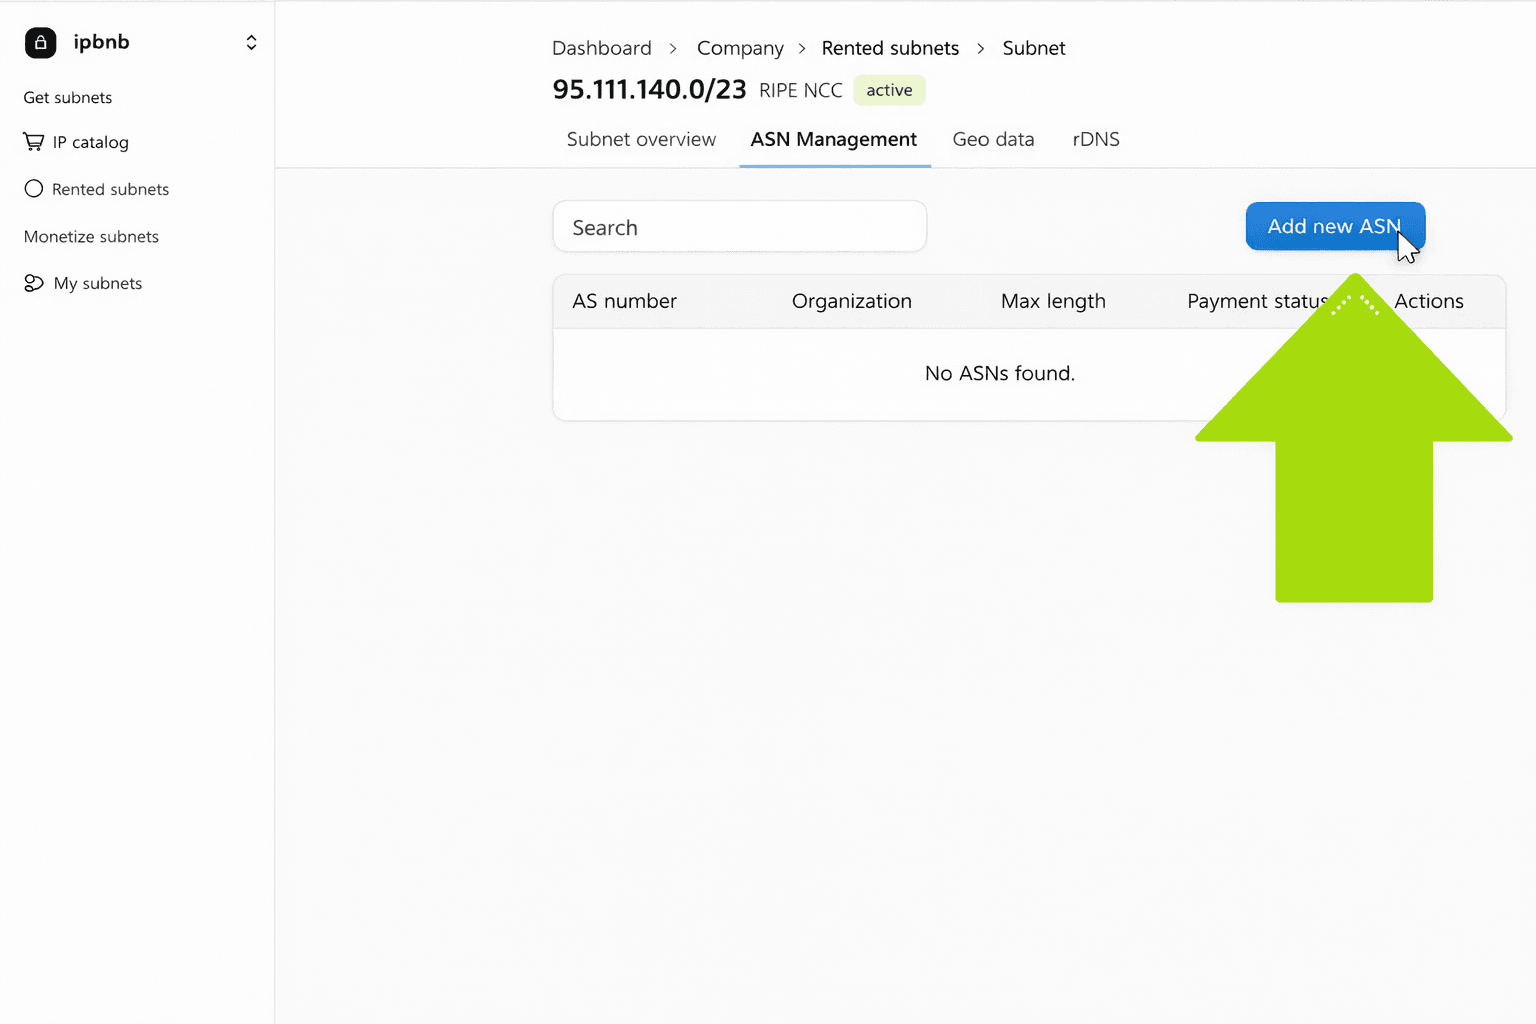
Adding Your ASN: Step-by-Step
Open ASN Management
Scroll to the ASN Management section on your Subnet Management Page and click Add ASN.
Confirm Your Company
Your company name is pre-filled from your profile and cannot be changed in this form.
3. Enter the ASN
In the ASN field, enter the number without the "AS" prefix (e.g. 64512).
If you have your own ASN, enter yours
If you are using a provider's ASN, enter theirs
This must match the ASN you'll use in your BGP configuration
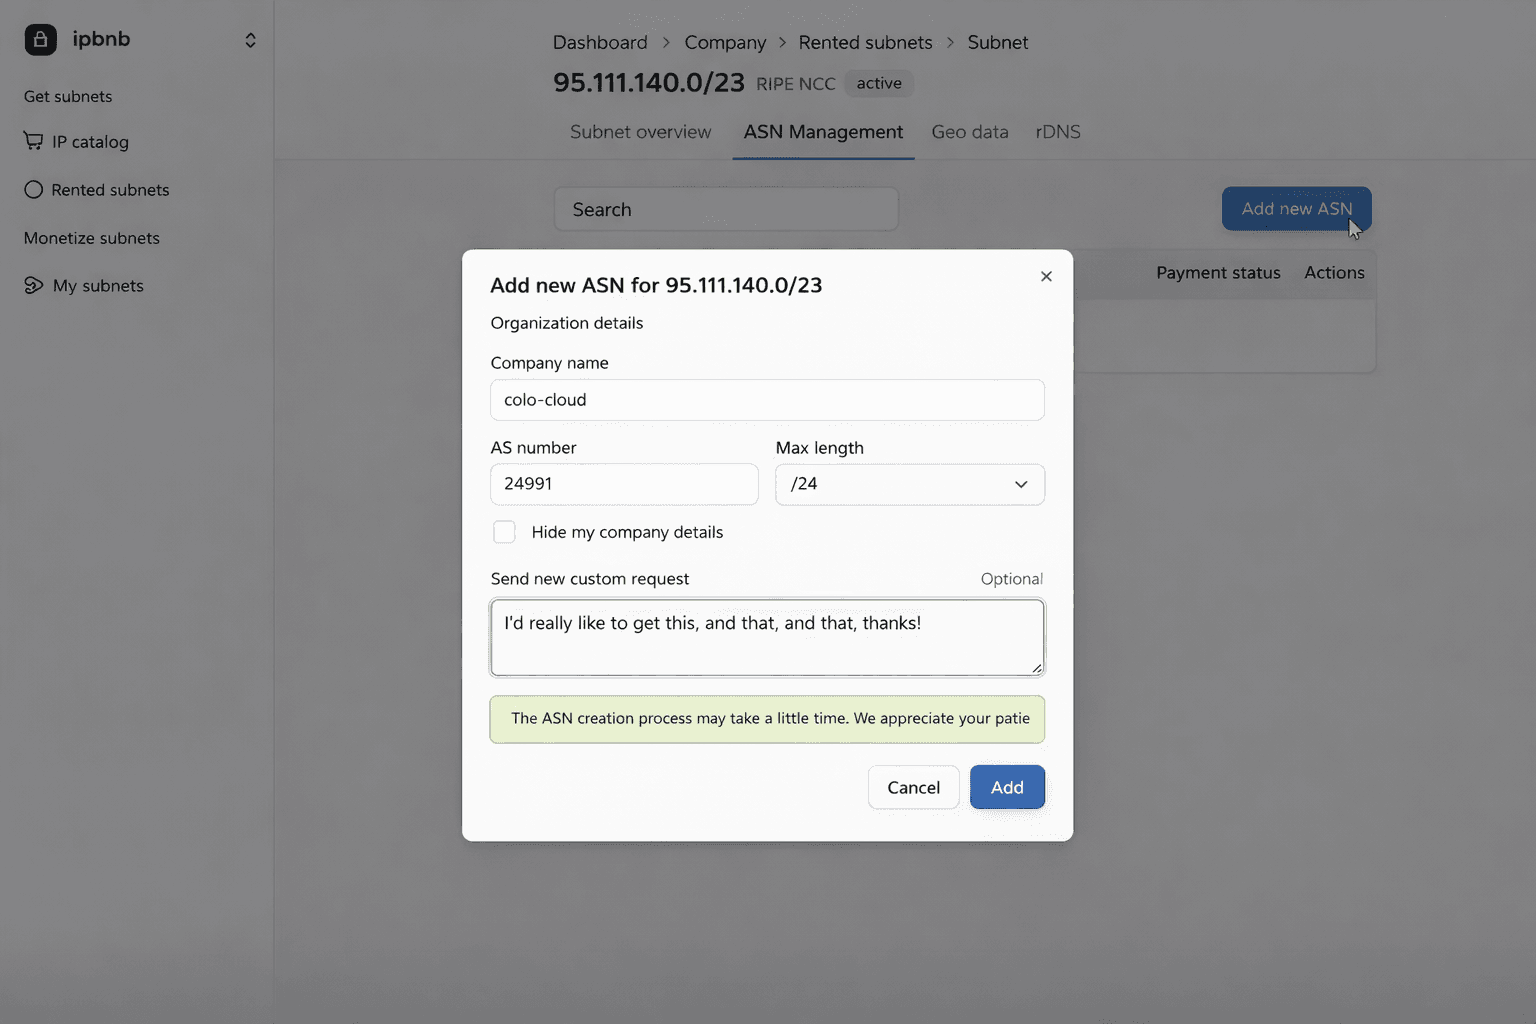
4. Enter the Prefix Length
Field label: "Prefix Length" or "Announcement Length"
Enter the CIDR notation number
Example: For a /24 subnet, enter
24Example: For a /23 subnet, enter
23
Important: This should almost always match your subnet size. If you leased a /24, enter 24.
5. Choose Company Information Visibility
Decide how your company appears in the public RIPE database:
Display your company information — your company name, address, and contact details are publicly visible. Choose this if you want transparency.
Remain anonymous — IPbnb's company information appears instead of yours. Choose this if you prefer privacy.
Important: This setting applies to all ASNs you add to this subnet. It cannot be changed per ASN and cannot be updated after the first submission.
6. Review and Submit
Before submitting, verify:
[ ] ASN is correct
[ ] Prefix length matches your subnet size
[ ] Visibility setting is what you want
[ ] All information is accurate
Click "Submit Request"
Form is submitted
Confirmation message appears
Status changes to "ROA Creation Pending"
The ROA Creation Process
Once you submit, the following happens automatically.
Immediately: IPbnb creates an inetnum object in the RIPE database using your chosen company information and sends a notification to the subnet owner.
Within 48 hours: The subnet owner logs into RIPE NCC and creates the ROA. The notification they receive includes your subnet address, the requested ASN, the maximum prefix length, and step-by-step instructions.
After ROA is created: IPbnb's monitoring system detects the new ROA (checks every 15 minutes), validates it, and sends confirmation emails to both you and the owner. Your subnet status changes to Active — Ready to Use.
Typical Activation Timeline
Scenario | Time to activation |
|---|---|
Owner creates ROA immediately | 30–60 minutes |
Typical | 4–12 hours |
Maximum | 48 hours |
What to Do While You Wait
You cannot announce the subnet via BGP or route traffic to it until the ROA is active. You can use this time to prepare your BGP configuration and set up your infrastructure. If you're using BYOIP with a provider, you can configure that side in advance.
If the Owner Does Not Create the ROA Within 48 Hours
If no ROA is created within the deadline:
Your lease is cancelled immediately and automatically
A full refund is issued to your credit balance (appears within 1 hour)
The subnet returns to the catalog for other users to lease
The owner receives sanctions as per the Owner Agreement — you do not need to take any action
You will receive a refund confirmation email. After that, browse the catalog and lease an alternative subnet — the full process repeats with the new one.
Need to Add More Than One ASN?
Some operators need multiple ASNs on a single subnet — for redundancy, multiple providers, or multiple clients. See Advanced Configuration: Multiple ASNs, Geo Data, and DNS for instructions.
Related articles