Help Center
Renting a Subnet
Advanced Configuration: Multiple ASNs, Geo Data, and DNS
This guide covers optional and advanced configuration for your leased subnet.
3
min.
Reading time
Advanced
Complexity level
Table of Contents
item
If you haven't yet added your first ASN, start with Configuring Your Subnet: Adding an ASN and Setting Up ROA.
Adding Multiple ASNs to One Subnet
Multiple ASNs on a single subnet are useful when you work with several providers, operate multiple autonomous systems, serve clients who each have their own ASN, or need routing redundancy.
Each ASN requires its own ROA, created separately by the subnet owner. The 48-hour deadline and the full process described in the ASN and ROA guide apply to each addition independently.
To add a second or additional ASN:
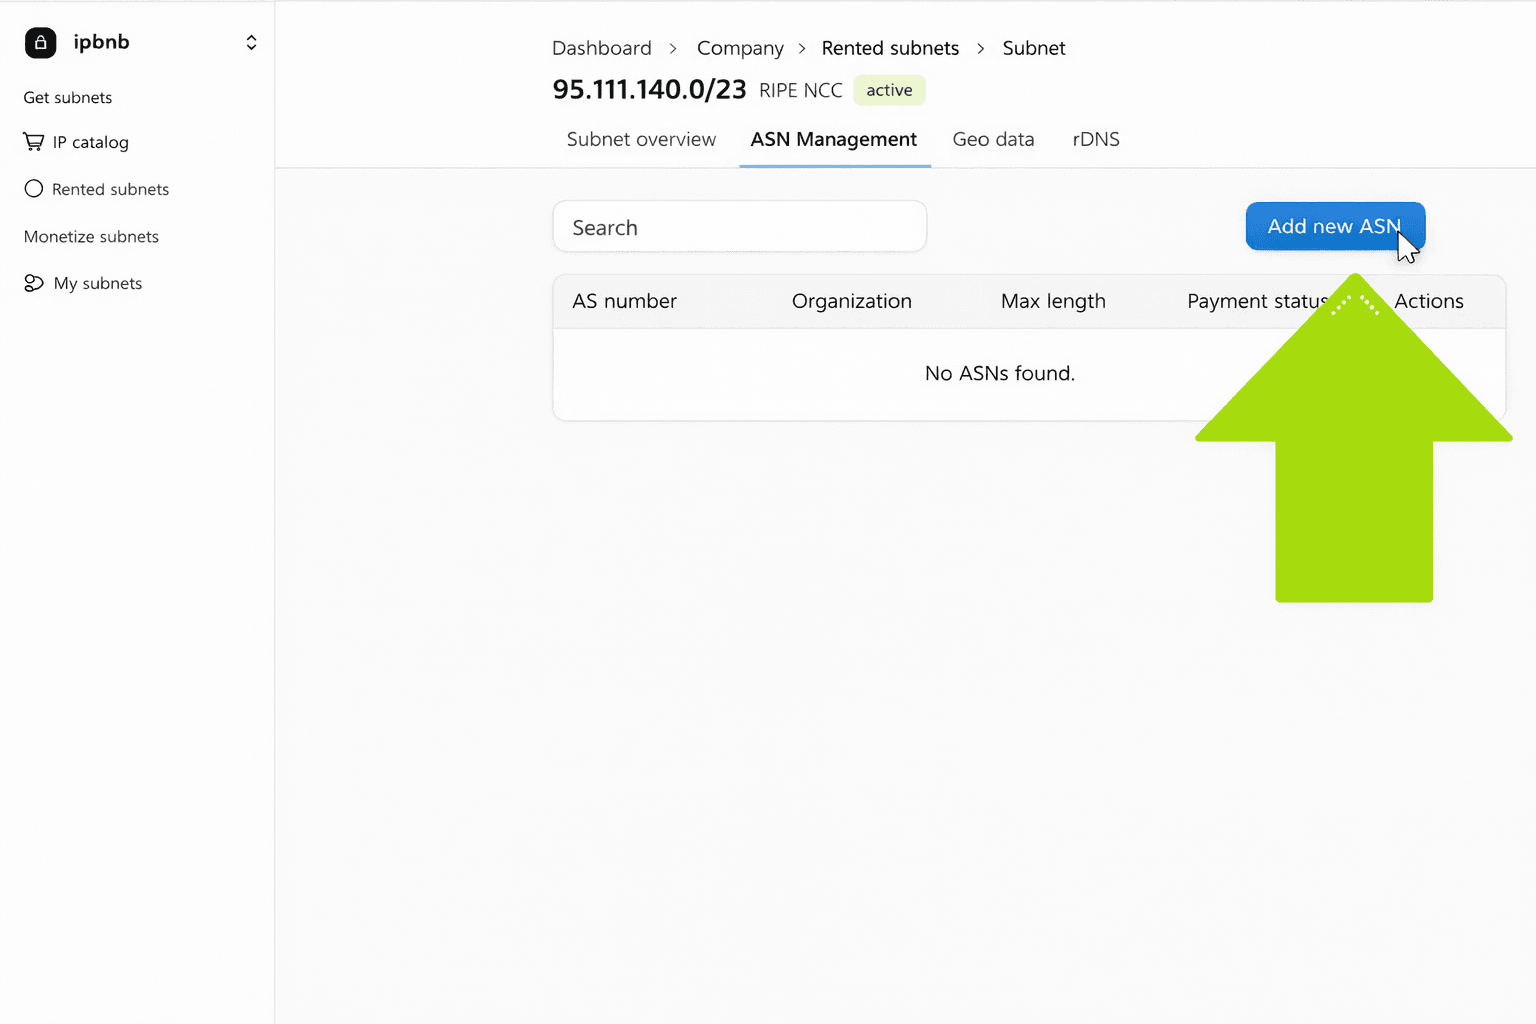
Return to the ASN Management section on your Subnet Management Page
Click Add ASN
Enter the new ASN number and the same prefix length as before
Submit — the owner receives a new notification and creates a new ROA
There is no limit on the number of ASNs you can add. All ASNs on a subnet are treated equally; there is no primary or secondary designation.
Note on company visibility: The visibility setting you chose when adding your first ASN (your company details vs. anonymous) applies to all subsequent ASNs on this subnet and cannot be changed.
Example: You lease 185.123.45.0/24 and need three providers to announce it.
Step | ASN | Result |
|---|---|---|
1 | AS64512 | ROA created → Active |
2 | AS64513 | ROA created → Active |
3 | AS64514 | ROA created → Active |
All three providers can now announce the subnet simultaneously.
Updating Geo Data
Geolocation data controls where IP address databases show your subnet as located. Updating it does not affect subnet functionality.
When it is worth updating:
You need the subnet to appear in a specific country for your use case (VPN services, ad tech, compliance)
The default geolocation does not reflect where the subnet is deployed
When you can skip it:
Your workload doesn't depend on perceived IP location (most hosting, application servers, general infrastructure)
To update:
Go to Geo Data on your Subnet Management Page
Click Update Geolocation
Enter the desired location information and submit
IPbnb reviews and processes the request — allow 1–2 business days
Configuring Reverse DNS (PTR Records)
Reverse DNS maps your IP addresses to hostnames. It is optional for most use cases but required if you are running mail servers.
When you need PTR records:
Mail servers — reverse DNS is checked by receiving mail servers and affects deliverability
Services that require verified hostnames
Situations where a professional, identifiable hostname improves trust
When you can skip it:
General hosting without mail
VPN services
Most web hosting scenarios
To configure:
Go to DNS Management on your Subnet Management Page
Click Add PTR Record
Enter the IP address and corresponding hostname
Submit — changes propagate within 24 hours
Related articles